
Test blueprints
Blueprint: save and activate in student view
When you have added all of your questions to the blueprint and are happy with the way the settings are configured, you can save the blueprint and activate it for use in student view. In student view, you can schedule the exam and configure correction settings for open questions. In addition, you can also test the exam as a student. (see step 4).
Student view is also where students perform the exam, although they need their own log-in credentials.
-
Step 1
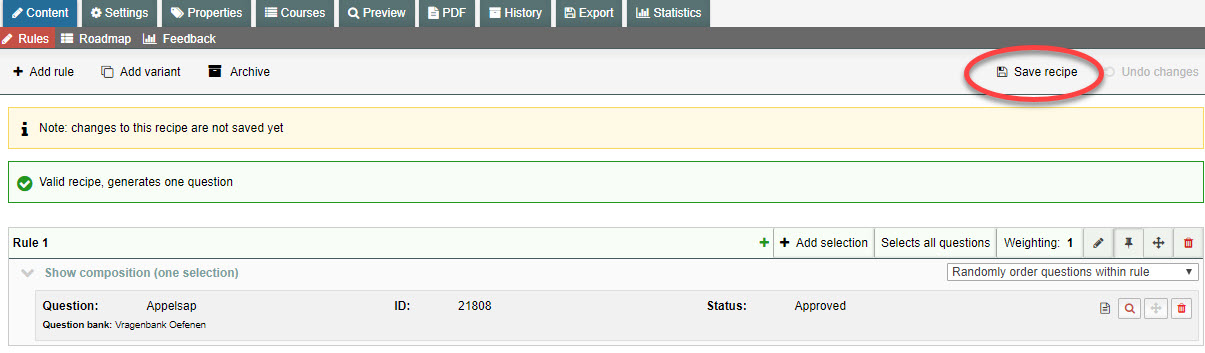
- Click Save blueprint at the top right corner of the page.
-
Step 2
- After you click Save, a new button will appear that says Activate blueprint. That button links the blueprint into student view.

-
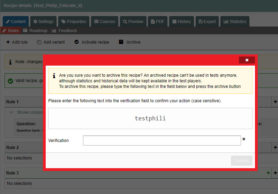
Please note! The ‘Activate blueprint’ and ‘Archive’ buttons are right next to each other.

When you click ‘Archive’, a window will pop up asking whether you want to archive the blueprint. If you confirm, the blueprint will be removed. There will be no way to recover the blueprint.
-
Step 3
- Click Activate blueprint.
- After you activate the blueprint, the text on the button will change from Activate blueprint to Deactivate blueprint.
- The blueprint is now linked into student view.

-
Please note! You need to save the blueprint every time you change anything about it. If you forget to hit Save, your changes will not be applied to the blueprint in student view.
Advice: Do not adjust the blueprint within one hour before the start of the exam. This can result in students making different versions of questions during the exam.
-
Step 4
- To see what the exam will look like to students, you can test the blueprint in student view. The page Blueprint: preview exam describes how to test a blueprint.
- Click here to log-in to the student view.

